Drywall Ceiling Repair

Ceiling Repair in San Diego

Cracks, sagging seams, water stains and holes repaired, secured to the framing and texture-matched so the fix never shows from below.

What ceiling repair actually involves

Ceiling repair is the least forgiving kind of drywall work. Overhead surfaces are lit at shallow angles all day — from windows, recessed lights and lamps — which means any ridge, dip or texture mismatch gets picked out immediately. A ceiling repair that would pass on a wall can still fail overhead, so the standard for floating, sanding and blending is simply higher.

In San Diego homes, ceiling damage usually traces back to one of a few causes: roof leaks during winter rains, plumbing failures from bathrooms and laundry rooms on the floor above, stress cracks and nail pops as a house settles, and holes left behind when light fixtures, fans or vents are moved. Coastal humidity adds its own wrinkle — board that gets wet dries slowly, and slow-drying board sags, stains and sometimes grows mold if it isn't opened up and checked.

Done properly, a ceiling repair starts with the cause, not the symptom. Damaged board is cut back to solid material, the cavity is confirmed dry, and the new section is anchored securely to the framing before a single coat of compound goes on. From there it's thin coats, careful sanding and texture blended wide enough that the ceiling reads as one surface again.
How we work

Our ceiling repair process

Five steps that make an overhead repair hold up — and stay invisible — over time.

  1. Inspect the damage and its cause

    Before anything comes down, we figure out why the ceiling failed. A stress crack along a seam needs different treatment than a sagging section from a roof leak or a hole left by a moved light fixture. If moisture is involved, we check that the source is fixed and the framing and cavity are fully dry before closing anything back up.

  2. Secure or remove the affected board

    Ceilings carry their own weight, so a repair has to be anchored to the framing — not just filled. Loose sections are re-fastened with drywall screws into the joists. Board that has broken down, softened, or sagged beyond recovery is cut back to solid material and replaced with new drywall of matching thickness, screwed off so it can't move again.

  3. Tape and float in thin coats

    Seams and patches are taped with joint tape or fiberglass mesh, then floated with joint compound in several thin coats rather than one heavy one. Each coat dries and is sanded before the next goes on. Thin coats cure harder, shrink less, and are far less likely to crack or telegraph a ridge across the ceiling over time.

  4. Sand carefully and re-texture wide

    Ceilings get hit by light at a low angle, so sanding has to be precise — any ridge left behind shows the moment a lamp or window light rakes across it. Texture is then re-applied across a wide enough area that the transition dissolves into the existing finish instead of ending in a visible ring around the patch.

  5. Prime, seal stains, and finish

    Repaired areas are primed, and any area with a history of water staining gets a stain-blocking primer so no discoloration bleeds back through the paint months later. The ceiling is then ready for paint that matches the surrounding sheen and color.

Recent work

Before and after ceiling repair

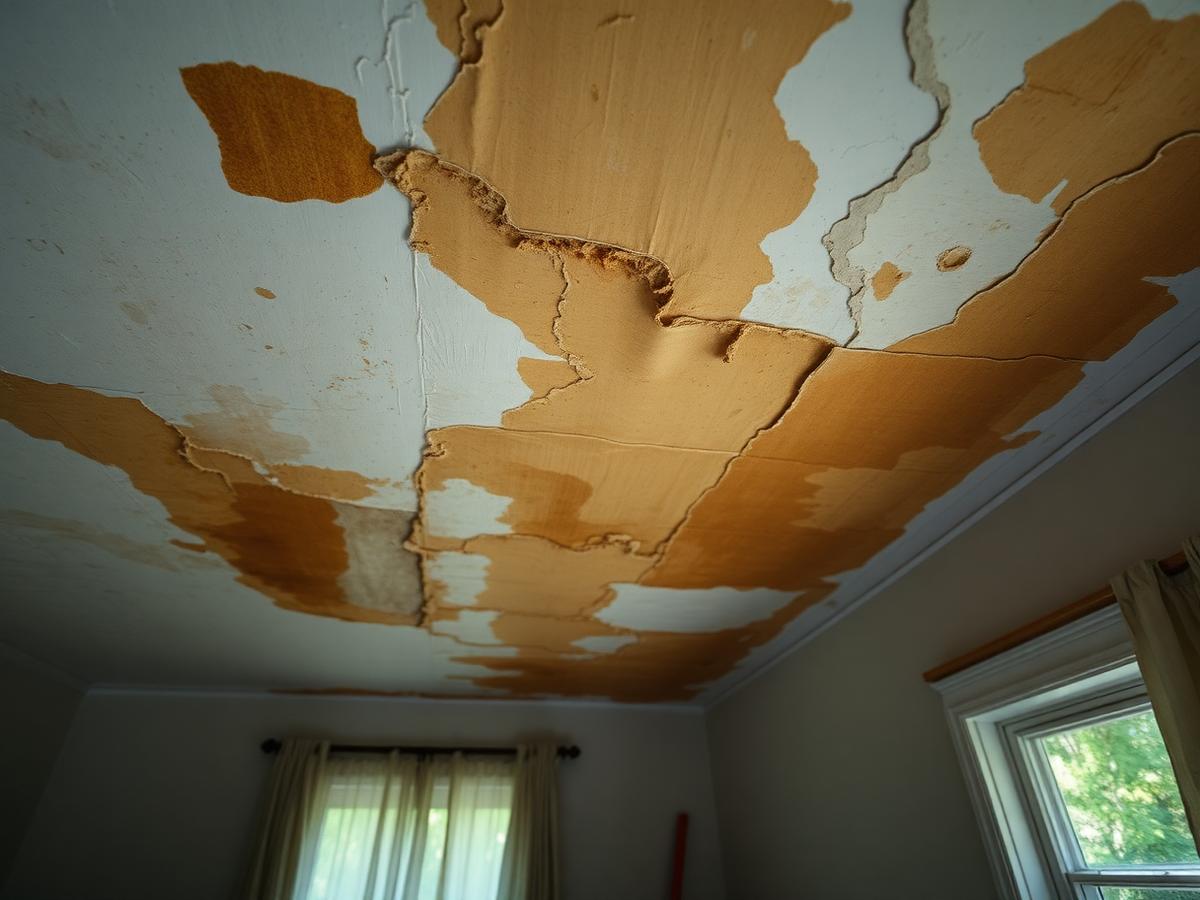
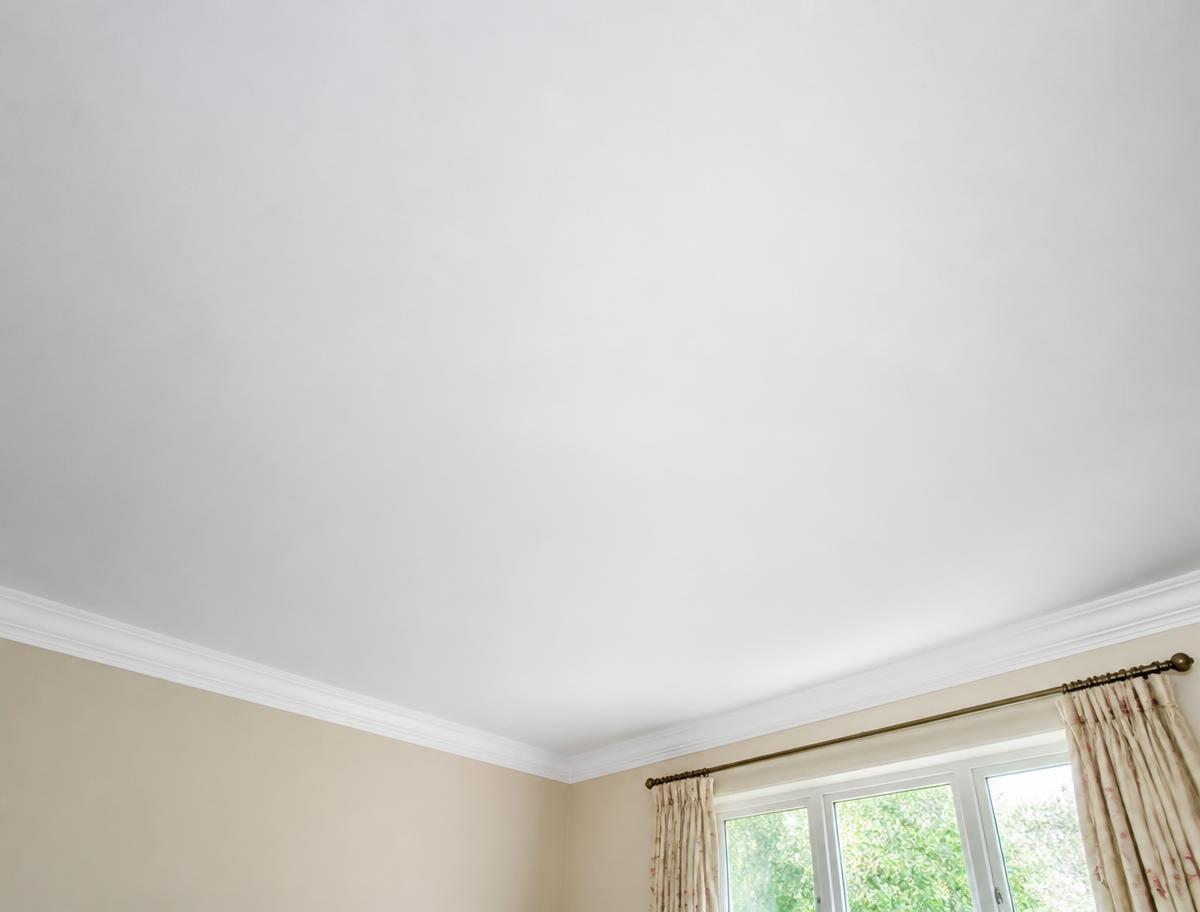
A water-stained ceiling in a San Diego home cut back, rebuilt and refinished to match the surrounding texture.

Water-stained and damaged ceiling before ceiling repair in a San Diego homebefore
Restored ceiling with matching texture after ceiling repair in San Diegoafter

Ceiling Water Damage Repair

A stained, water-damaged ceiling in a San Diego home cut back, replaced, re-textured and finished smooth.

Signs to look for

When to call for ceiling repair

Stains, rings, or discoloration overhead

A yellow or brown ring on the ceiling almost always means water found its way in — from the roof, an upstairs bathroom, or a slow plumbing line. Even if the stain is dry, the board behind it may be soft or compromised, and the stain will bleed through fresh paint without proper sealing.

Cracks along seams or sagging sections

Hairline cracks that follow drywall seams, nail pops pushing through the paint, or a section of ceiling that visibly dips between joists are signs the board is moving or losing its hold. Caught early, these can often be re-secured and refinished; left alone, they tend to spread.

Holes from fixtures, fans, or old lighting

Swapping a light fixture, moving a ceiling fan, or removing an old vent leaves openings and patchwork that show against the rest of the ceiling. These need proper backing, floating, and texture blending — not just a squirt of spackle — to disappear.

Questions

Ceiling repair FAQs

Answers to common questions about drywall ceiling repair in San Diego.

Why is ceiling repair harder than wall repair?

Ceilings get raked by light differently than walls, so even a small ridge or texture mismatch becomes obvious the moment sunlight or a lamp hits it at an angle. Ceilings also carry their own weight, so any repair needs to be properly secured to the framing, not just filled in.

What causes most ceiling damage in San Diego homes?

Common causes include roof leaks, plumbing issues from bathrooms located above living spaces, and nail pops from age or minor settling. Coastal humidity can also contribute to slower-drying issues after a leak, which sometimes leads to sagging or staining if it isn't caught early.

Can you fix a sagging ceiling, or does the whole section need replacing?

It depends on the cause. If the sagging is from a small water event or a few loose fasteners, we can often re-secure the drywall to the framing and repair the visible damage without replacing the whole section. If the board itself has broken down structurally, that section gets replaced and reworked to match the rest of the ceiling.

Will the repaired area be noticeable from the floor?

That's what we aim to avoid. We work in thin coats, sand carefully between them, and blend the texture out across a wide enough area that the transition doesn't create a visible line, even when the ceiling is viewed at an angle across the room.

Free estimate

Get your ceiling repair quoted today

Tell us what happened — a leak, a crack, a moved fixture — and send a photo if you can. We'll come back with a clear, no-obligation estimate. Prefer to talk it through?

Call 619-935-3909

No obligation. We'll only use your details to respond to this request.

Call NowFree Quote